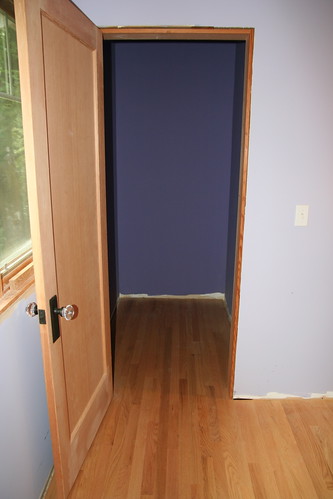
Well, I think I can finally call the sunroom done. Last week, I put the final touches of paint with brush and roller and that was it. In general, I'm happy with the outcome. However, I can hardly believe it took about 4 years (off and on) to get to this point. My only concerns are that the stain on the storage area doors and on the main column didn't turn out very even. I'm going to just leave it for now, but may decide at a latter date to redo them.
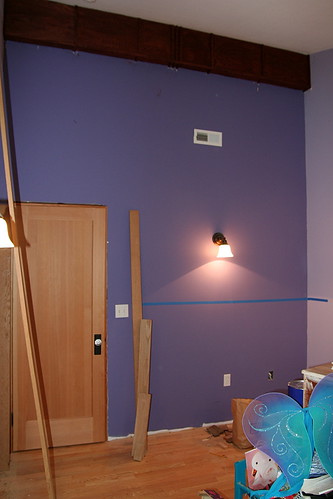
Something else I'd like to mention is that this was the first time I painted walls without masking tape. And guess what? It turned out SOOOOO much better!!! A friend of mine had their interior painted by professionals and he was surprised to see that they didn't use masking tape. I have been frustrated that, no mater what kind of masking tape I use, or how carefully I applied it, the paint always seemed to leak through a bit. This time, I just took my time and carefully cut a line with the brush. The trick is to start about about an inch from the trim, then move down and closer to the trim until you are just touching, then keep going until the brush runs out of paint. Then, do it again. It is easier than it sounds. I will never use masking tape again.
Now some pics:
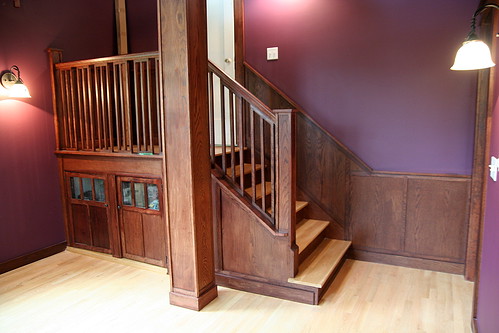
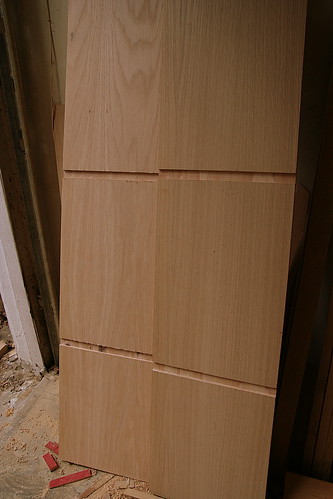
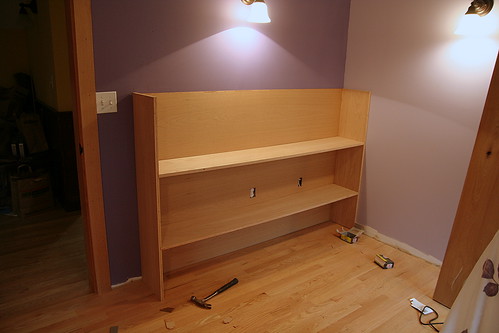
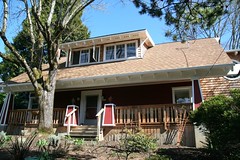
The sunroom is over the garage and the floor is about 3ft lower than the rest of the 2nd floor. This means a short flight of stairs. The original plans called for the "railing" to be a solid wall and the area under the stairs to be enclosed. However, I decided to make the railing open spindle like the main stairs and to open up the area under the stairs for storage (who wouldn't?). Unfortunately, Jenn has already claimed every square inch of the storage area. sigh.
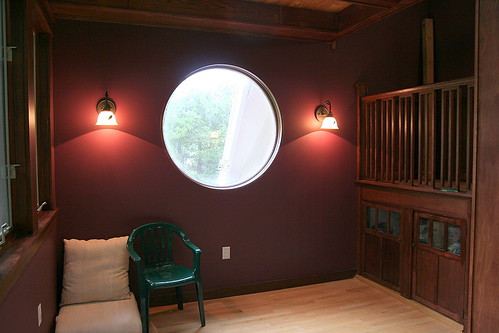
One thing I wasn't sure about but decided to leave in the original plans is this large circular window. I just don't think it looks "Bungalow". Some square and open-able windows probably would have been better. That said, most people who come visit say they love the circular window. So, what do I know?
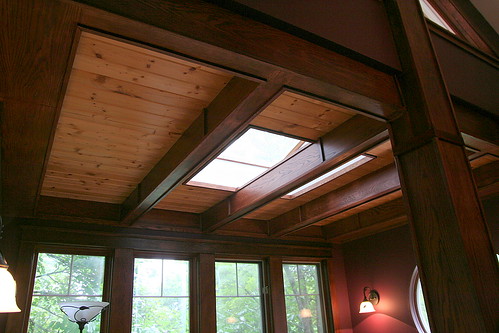
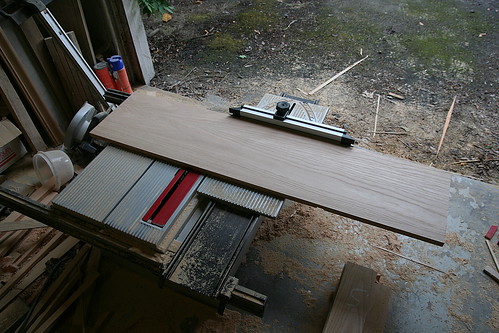
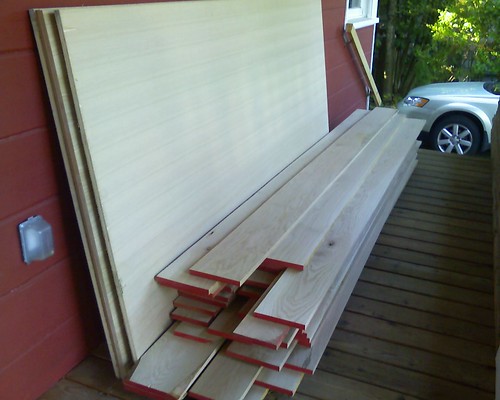
The original plans called for tongue-n-groove pine ceiling with rough fir beams. After the beams were up, with metal hangers, I didn't like it. I tried sanding them to make them look cleaner, to no avail. So, I decided to cover them with 1/4" white oak ply. This, much to my surprise, created a more traditional box-beam look, which I'm pleased with. Happy accidents are fun.
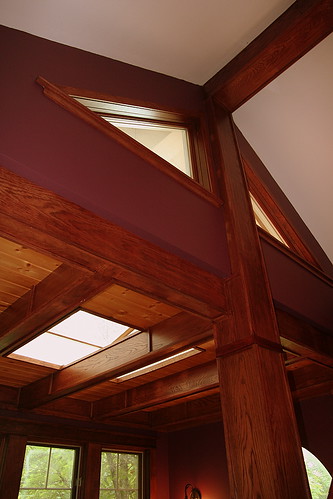
Another change, actually suggested by the builder, was to change the flat ceiling over the stairs to open vaulted, which matched the rest of the 2nd floor. This left a curious triangular space that we decided to put two fixed framed triangular windows. This looks great and adds even more light, but does seem to draw the heat out of the room during cold weather.