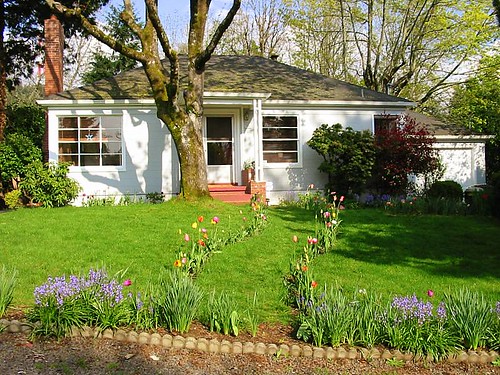
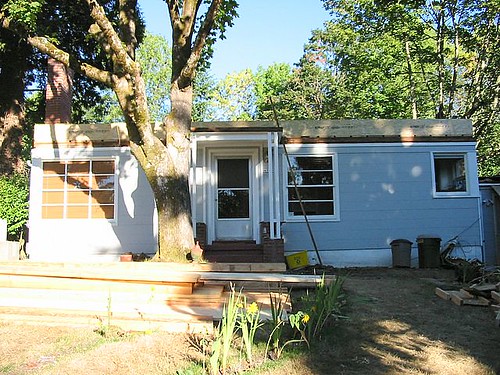
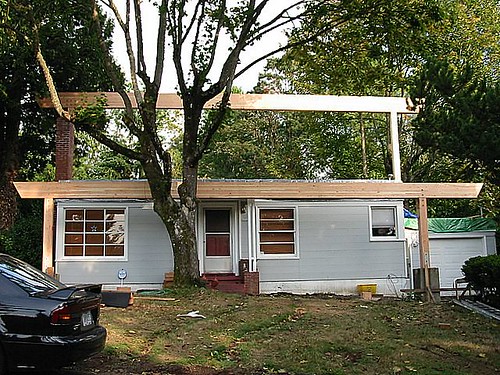
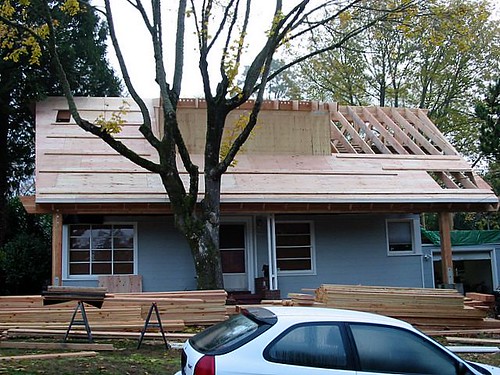
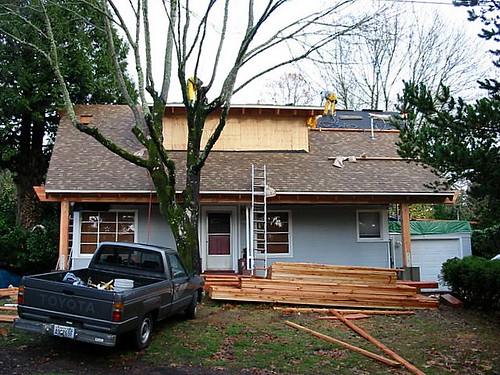
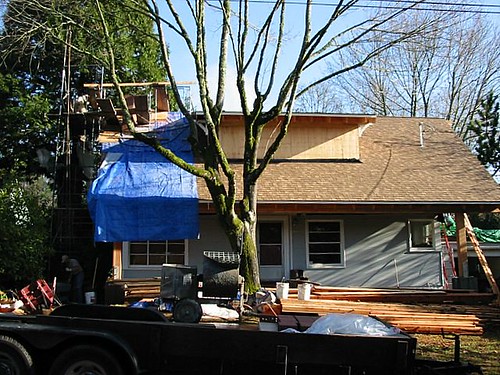
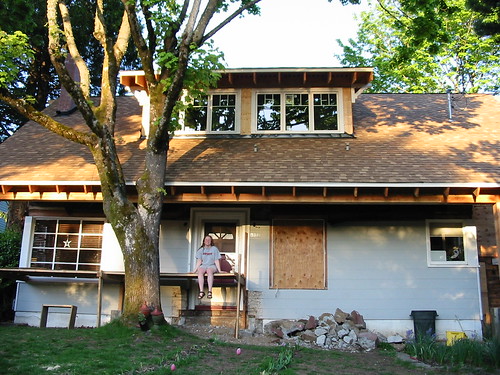
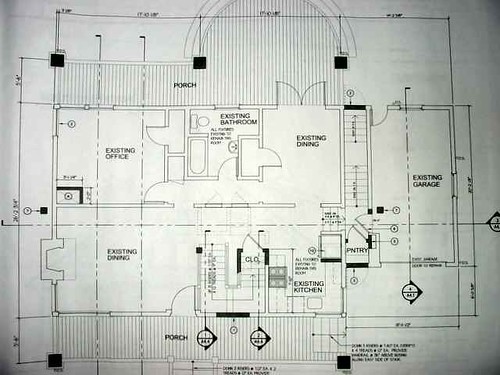
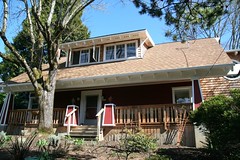
Monday, February 28, 2005

Weekend Progress

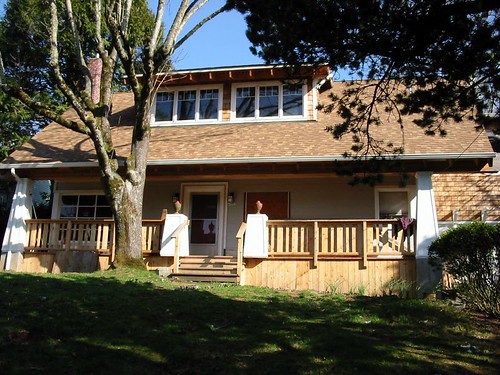
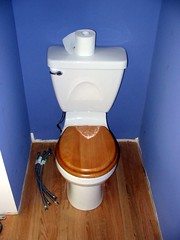
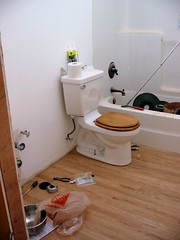
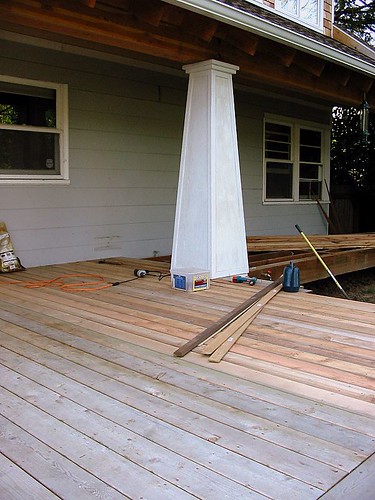
Got a chance to work on the house this weekend. I put in two toilets and doubled the size of the decking on the back porch. Jenn helped a lot with the decking. Since it is supposed to rain this week, I'll probably return in doors and either build vanity cabinets and work on the stairs.
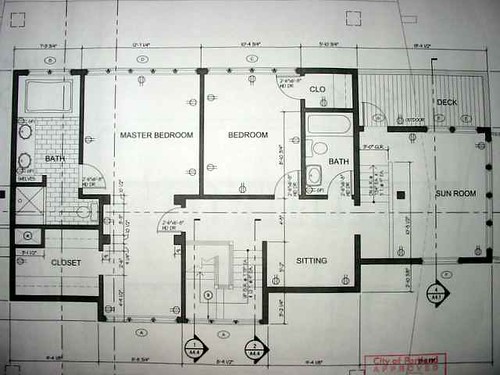
Master Bath


Second Bath


Back Porch

Friday, February 25, 2005

First Pictures of the Front Porch

I FINALLY got around to taking and uploading a picture of the house with the new porch. Today was a bright sunny day so it turned out well.

Thursday, February 24, 2005

Series of House Pictures [Front]

This is a series of pictures of the front of the house, from before construction to the present. However, it doesn't not yet include the new front porch, which was completed last fall. I hope to have a newer better picture soon...


It was a very nice little cottage style house. I've seen it referred to as a 'war cottage' style house because it had certain features that were only commonly included in houses built during WWII (our house was built 1942).


First, they had to cut the top off...


Then, they put the beams into place.


Framing and sheathing.


Roof shingles.


Extending the Chimney


All the windows in place. Oops, you may notice the plywood on the front of the house. We lost a window because the stairwell in side went there. Oh well. Eventually I need to patch the siding.

Architecture Plans

These plans were done by Bob Thrapp (thrapp@psearchs.com).


Front Elevation


Back Elevation


South Elevation (despite the label...) You can see the Sunroom here.


Second Floor Plans


First Floor Plans (not much different than original -- just the addition of the stairs and porches, plus the kitchen was rearranged.

Floors are Done!!!

Wow, this is a huge milestone for us! We worked very hard. It took us 4 solid weekends to lay down, sand, and finish about 940sf of flooring. We did about 900sf of tongue-and-groove red oak and 40sf of top-nail white oak. I even put in some inlay in top nail portion.


But, as you look at this picture, past the inlay, the cat sleeping on the register, and the dusty footprints, you may notice that the finish doesn't quite match between the middle and the bottom of the picture. This is because the original floors were sealed using an oil-based sealer, which gives the floors a red-tone. I used a water-based sealer on the inlay portion, which gives the floors a brown-tone. Oops. It looks worse with a camera flash picture than it does in person. Still, when we do the wood floors in the kitchen (kitchen in background -- planning to remodel 2006) we'll probably go back and make this finish match. All-and-all, this it he biggest flaw and the rest of the house looks great!