Rediscovering the Storm Windows
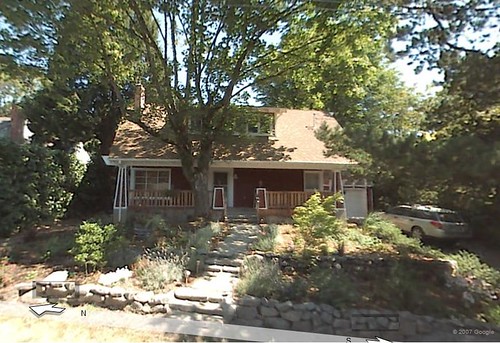
When we first moved into our house, I noticed that there were some strange wooden storm widows in the the garden shed. I might not have figure out what they were for except that they had labels written on them like "master bedroom," "bathroom," etc, and they had hooks on them that matched brackets on the house. The first fall we were in the house, I dutifully retrieved the storm windows from the shed and mounted them on each window as the labels directed.
However, I was pretty unimpressed with their performance that winter. During our first spell of the infamous "East Winds" (which have their own ominous theme music), you could feel a cool breeze coming through the gaps near the windows. "These things are a waste of time," I thought. The next winter, I tried some of the plastic wrap window stuff that I had seen promoted on one of those "House Tips" segments on the local tv news. An absolute must for old houses, they promised. These are those sheets of plastic that you mount with tape and then use a hair dryer to get the wrinkles out. I did this. However, the first time the cold east winds returned, off came the plastic. What a waste. I no longer get house tips from the local tv news.
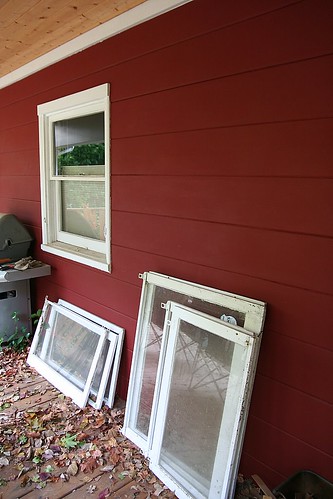
Since then, I've not tried much. The east winds blow each winter and we maybe put towels around the windows, which don't work so well. As a result, we've had some pretty high heating bills. This year, I resolved to solve this problem once and for all. The plan was to remove the glass from the crappy old two piece frames and build new single piece frames that would fit into the same grooves as the old ones. I'd seal up the glass panes and mount the frames with foam weather stripping.
Day 1, I get the old windows out of the shed and start to look at them. Building new frames was starting to look like a lot of work and these old frames looked better than I had remembered. Maybe if I just got the foam strip insulation, I could make them work after all. I went ahead and mounted the storm window for the bathroom, which faces east, but ran out of time before I could start any more. Last week, we had a minor spell of the east winds and I was pleasantly surprised to find no sign of air leaking inside the bathroom. Hmm, I may have something here. Today, I had just enough time, and stripping, to get the rest of the east facing windows mounted. I'll need to get some more stripping and do the rest of the downstairs windows.
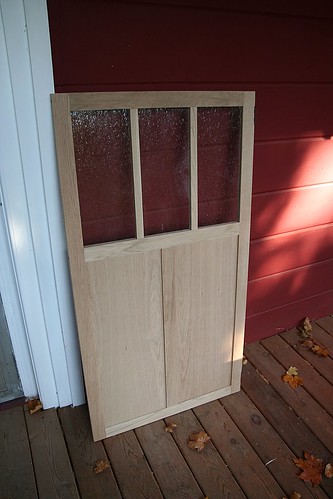
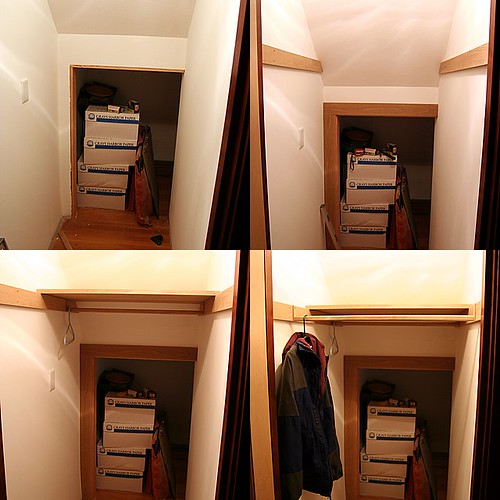
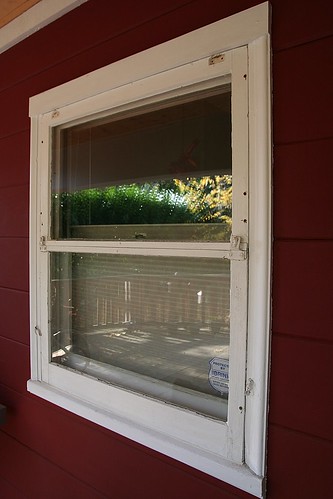
Before (bathroom window)
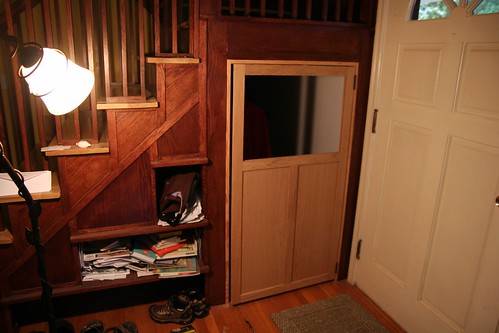
After:
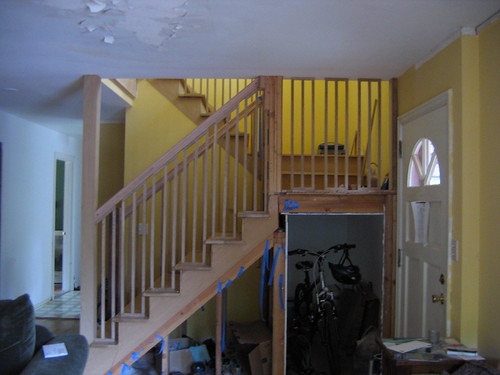
The bedroom windows
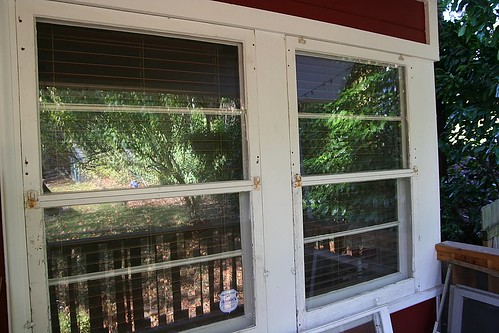
They don't look great, but I think they will be effective this winter. Next year, I can always clean them up better and repaint them. They sure beat the heck out of paying a brazilion dollars for replacement windows.
Note also that these windows can be opened from the inside to allow safe egress in case of fire.
posted by Greg at Sunday, October 28, 2007
|
4 comments
![]()
![]()