Wednesday, April 27, 2005

A Little More Railing

The railing frame is slowly crawling across the back porch. Tonight I got a few more of the vertical braces in place as well as 2 more sections of the horizontal. I'm not sure why it is taking so long. Perhaps it is because we no longer are faced with an immediate deadline of expiring permits. Perhaps it's because I stop and daydream about alternate designs every few minutes. Or, perhaps both...

I did get to do some compound miter cuts. Woohoo! The framing attaches to the columns at a 26 degree angle and the columns themselves are pitched at a 6 degree angle. Fortunately my trusty Dewalt was up for the challenge and it turned out perfect. I'm glad I got a good miter saw. It doesn't have lasers or sliders or anything fancy. It just makes very accurate cuts.

Here is where I left off (click images for different sizes):


View from the back door:


And, finally the railing and downspout living together in harmony:

Tuesday, April 26, 2005

New Neighbors

I actually did some work tonight! Whoa, I know! I worked a bit on the railing for the back porch / deck. But, then I got into a fight with the gutter downspout. It picked the absolute worse place to be, making it difficult to attach the railing to the column. I seem to be about as good with downspouts as I am with plumbing. Eventually I got the railing and downspout to coexist. But then, I heard a voice calling us from beyond the hedge...

We have new next-door neighbors. We met the man of the house, but his wife was off somewhere. They just moved up from Eugene and are very excited about their new house. I think they'll be good neighbors. His name is Dave, but I've already forgot what her name is. Oh well, I'll try and find out and write it down somewhere.

Officially, that house was on the market for 2 days. The house across the street from it still has a for sale sign, but already has at least one pending offer. It was on the market for 1 day. Things in Portland are getting crazy! I hear it is worse in Seattle and the Bay Area, but we're trying. I just feel fortunate that we got into our house when we did, and now we can just sit on the sidelines and watch the chaos.

Monday, April 25, 2005

Night Vision

OK, I'm just screwing around with my digital camera at this point, rather than working on the house. After looking at some pictures of various houses in Fine Homebuilding, I decided the coolest shots were taken after dark. So, I thought I'd give it a try. I figured out the trick is to turn on every light both inside and out of the house. So, here is the front:


Click on the images for different sizes.

Here is the back.


That was pretty easy. I didn't even use a tripod (though it might have helped). I just stood very still and held my breath. The camera does the rest.

Give it a shot! :-)

Ranch To Bungalow?

I got the latest issue of Fine Homebuilding in the mail today. Their annual "houses" issue features a cover story on transforming a ranch style house into a Craftsman Bungalow. Hmmm, it’s like deja vu all over again…


Seriously, they did a pretty good job. I especially like the fireplace nook and the half-height walls with columns. I’d really like to add that feature to our house, but I can’t figure out where it would fit. FH rarely includes costs with larger projects, but they did this time: $260,000. Ouch!

Still, it's a nice house and a reinforcement that we're heading in the right direction. Who knows, maybe in two years our house will be FH worthy...

Wednesday, April 20, 2005

A Fair to Remember


Those of you who have read the Hillsdale House back story or know a little about Portland history know the significance of the 1905 World's Fair. The fair was held to commemorate the centennial of the Lewis and Clark Expedition. It is one of the most important events in Portland history. And guess what? It's now 2005: the centennial anniversary of the fair (the centennial of the centennial...). And yet, the city is doing virtually NOTHING to remember it. But, the Oregon Historical Society IS commemorating the event with a summer long exhibit. So, if you live in Portland or will be visiting some time before September, I highly recommend it.

Or, if you just like to look at 100 year old pictures, check these out from the fair.

Monday, April 18, 2005

Changing the Blog Design

Now that we've got a 6 month extension on the permits, I'm breathing much easier. I've been meaning to mess around the blog site layout, so here goes. Gone is the pseudo-watermark looking lighthouse thingy that Blogger gave me. I added a recent picture of the front of our house with some links to some blog "highlights". Below I finally got around to improving the House Blogs ring links. I used the icon posted by Heather from 1929 Bungalow, because I like the doorknob metaphor.

I'm still not happy with the overall look. It's just too blue and contemporary. I'll need to find some better background colors and images. Also, I'd like to add more blog highlights, including a list of builders and suppliers.

Two Year Blog Anniversary!

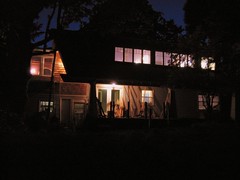
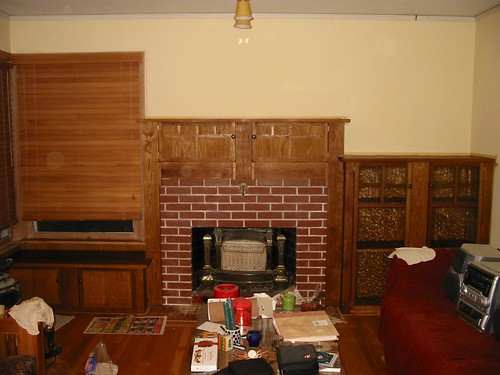
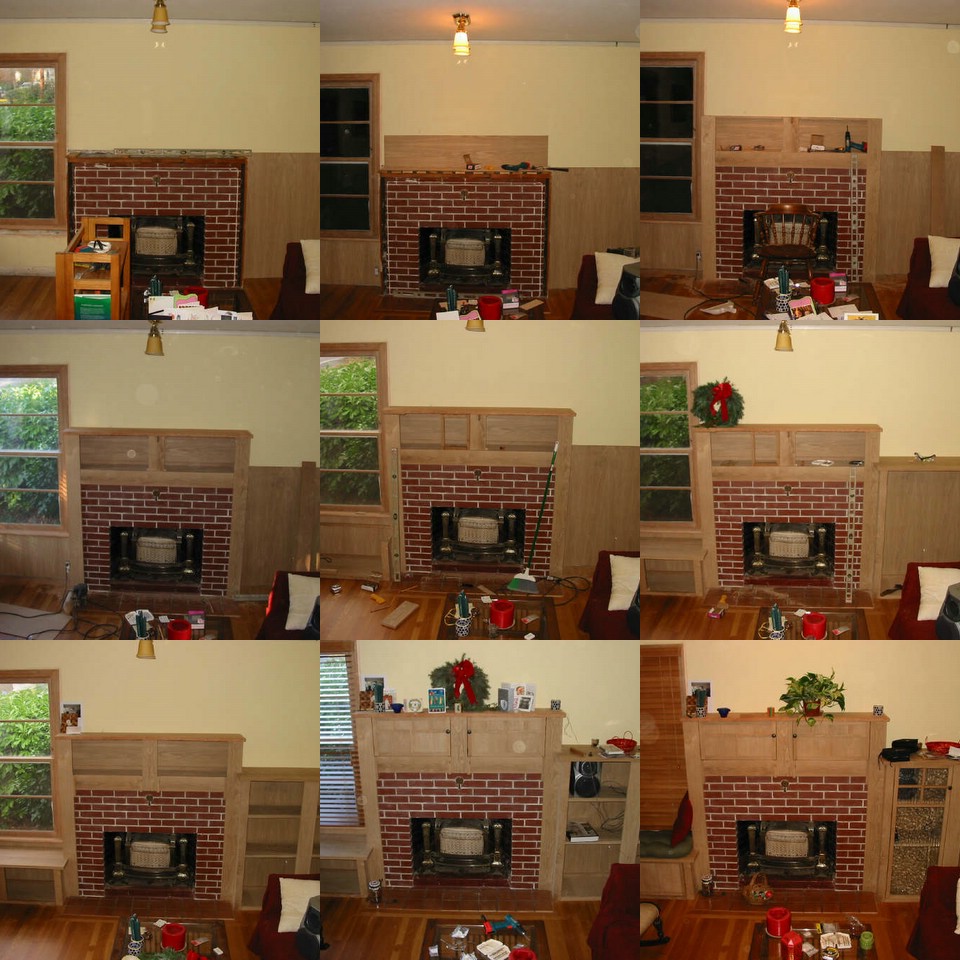
Oops, I missed it. My first entry was April 10, 2003, just over two years ago. Back then, I was finishing up the fireplace mantel, talking to an architect, and dreaming about a sunroom over the garage. Two years later, we have so much more than just a sunroom.

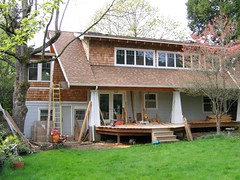
Getting the permit extension has given us a chance to relax and reflect a bit. Jenn and I were talking about the future of the house project last night. Although we’ve come a long way, we’ve still got a lot more work to do. In fact, it may be two more years before we're through. This summer we will be working on trimming the new 2nd floor. This will include adding the doors (7 in all), casing the windows and doors, wainscoting the hallway and stairs, then finally baseboard molding. We also hope to add some built-ins: the sunroom under the stairs and perhaps something in the office area. This will take at least all summer and may go longer. It’s still a lot of work.

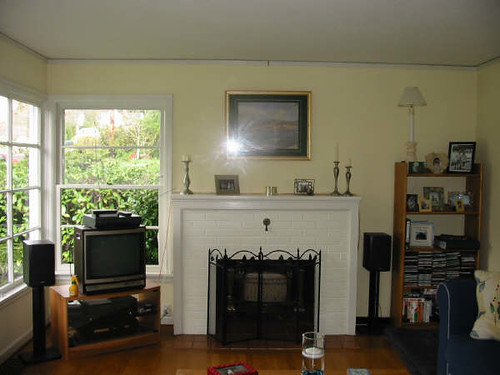
After we get the upstairs ‘done’, we will need to focus on the main floor. The living room is pretty ripped up. The ceiling suffered a lot of water damage when the roof was off. So, we will need to completely scrape off the remaining paint and paint it again. During this time, I would like to add box beams in a pattern that matches the floor inlay. The remaining trim, including the casing around the windows and front door also needs to be replaced. We also need to finish up the bottom of the stairs. I hope to add an enclosed closet, some shelving and wainscoting. In total, this project will take at least a couple months.

After that, we will need to fix up the kitchen and dining room. The kitchen floor still has the ugly vinyl flooring that some previous owner thoughtlessly left us. Ugh. Because the room was rearranged during the initial work, we now have about half the cabinet space that we should have. So, new flooring and new cabinets are a must. Also the ceiling got pretty beat-up when they put the new recessed lighting in. So, at least a repaint there. That’s at least a couple more months total work.

About this time, I would like to add a new built-in sideboard to the dining room. Our dining room was original a bedroom. As such, it has a cloths closet, but no good place to put dinnerware. So, if we knock out the closet wall, it seems we could convert that space to a nice Stickley style oak sideboard. At least another month worth of work.

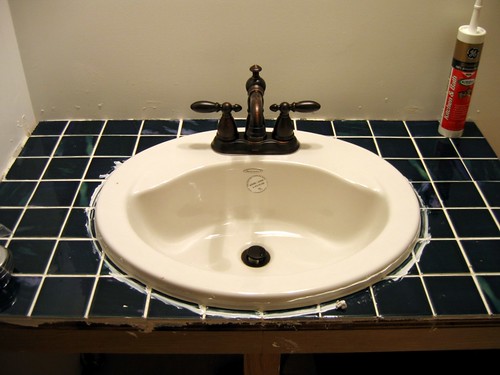
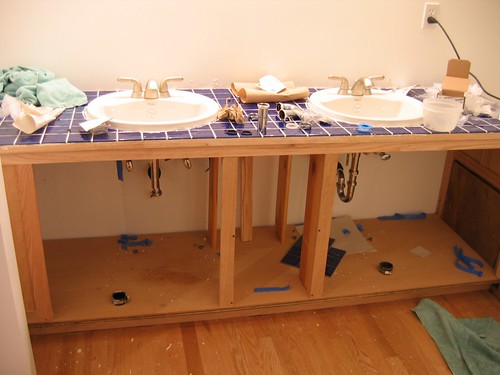
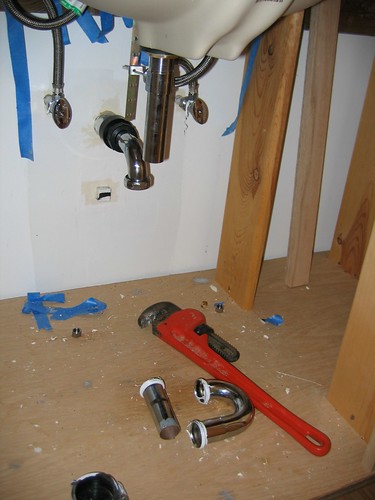
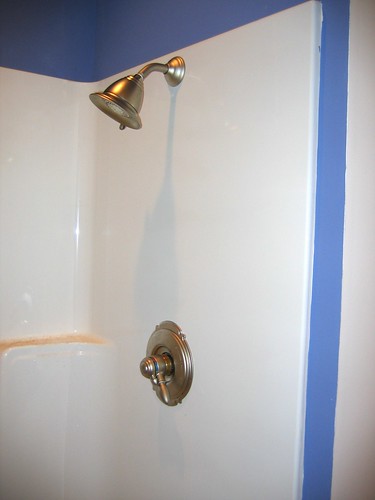
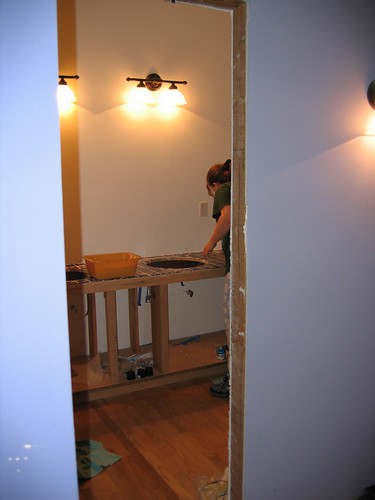
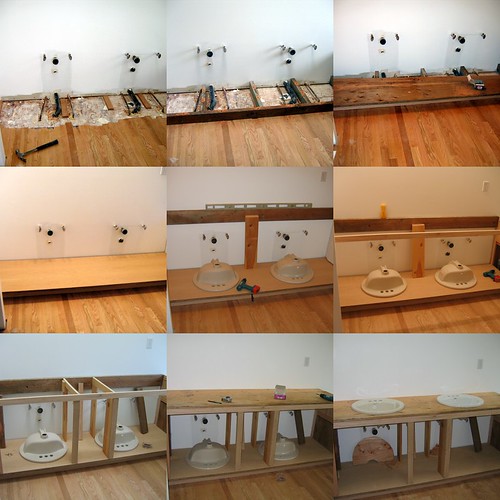
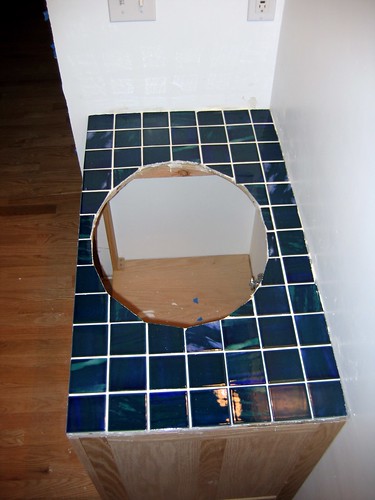
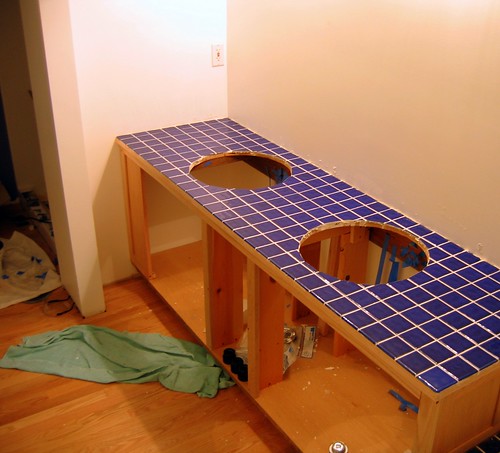
Continuing, counter-clockwise through the house, the bathroom would be nice to update. Or should I say, roll back. Our bathroom has that classic 1980’s remodel look. Since the goal is to try and make this house look like a 1914 Craftsman, the 80’s bathroom in the very center of the house needs to change, dramatically. I’m thinking tile floor with a bear-claw tub would be a nice start. We’ll see where we go from there.

Finally, the last room on the main floor is the original master bedroom. We were thinking about turning this into a library / guest room. This means adding built-in book cases, having a cozy place to read, but also having a foldout bed or futon that guests can sleep on. I think it would also be nice to add another door to the backyard here too. Realistically, it will be over a year before we get to this project.

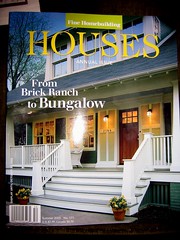
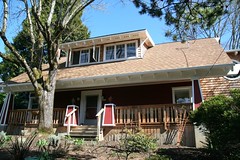
So, we are about two years into our project, and it seems it is possible that it could be two more years before we reach our ultimate goal: converting our 1942 war-cottage tract house into a circa 1914 Craftsman Bungalow.

Tuesday, April 12, 2005

Plumbing Inspection

The guy from the city came and found several problems right away. The tub in the 2nd bath must have a stopper and overflow drain (it's there but covered). Oops. The sinks and shower in the master bath are plumbed backwards (I knew the shower, but not the sinks). Oops. Then he said something like "Are you the owner and occupant? Are you going to fix these?" I said yes, and he said he would pass us. Yippee!! Not only is this an important milestone, but it also means that we get another 6 month reprieve on finishing this permit.

*whew!*


To celebrate, I'm posting some before and after pictures of the back of the house. Click images for larger versions.

Before

Taken before we took possession of the house.

After

Jenn reminds me that the title "After" in incorrect since we are not done with the porch yet. So "current" or "recent" would be better, for now.

Saturday, April 09, 2005

Plumbing: Ugh.

Plumbing is a problem for me. I’m no good at it. In fact I don’t like it, and, apparently, it doesn’t like me either. In my last house, I remodeled the kitchen, the 1st bathroom (twice), and added a second bathroom. Every time I touched the plumbing something went horribly wrong and water went every where. And yet, I keep trying...

So, tonight was the inevitable plumbing night. I've been dreading this, and as it turns out, for good reason. There was much grumbling and mumbling and outright swearing. It took two trips to the Hell Depot. And, worse of all, I didn’t even finish.

It was a big task, especially for someone as plumbing-challenged as me. I had to mount 3 sinks, install a tub faucet and a separate shower faucet. It took me 5 hours, including one of the trips to HD. The shower faucet appears to have shipped without a ring that goes around the handle. It looks a little funny, but it works. I seem to have lost the little screw the keeps the tub faucet spout in place, but it still works (no leaks). 2 of the sinks work without leaking, but the 3rd has a leaky p-trap. I decided to attack the 3rd p-trap with a giant 18" pipe wrench. That wasn’t a good idea. Now I will need to go back to Hell and get another p-trap assembly, tomorrow.


And now, some pictures:


This is the sink in the 2nd bathroom. No leaks here.


These are the sinks in the master bath. The one on the left had a leaky p-trap, which I then mangled with the pipe wrench. I'm a bad plumber.


Close up view of bad sink, post disaster.


The show went pretty well except that I discovered the plumber roughed it in with the leads crossed. So now, the hot is cold and the cold is hot. Oops. I guess it will just have to stay that way.

Wednesday, April 06, 2005

Plumbing and Electrical Inspection

Our building permits expire April 19. I knew that. The problem is that the house is no where near being code and won't by then. So, I called the city this week to find out my options. At first they said I would have to submit a written request for an extension. But, then the person I talked to said that I can call for a 'partial' final inspection. The idea is to at least show that we are making progress and have part of the 'final' done. For example, if the final plumbing is in place and up to code, we will not only get approved (for the plumbing portion) but we will get an automatic 6 month extension to finish the remaining issues. This is GREAT news! So, my plan is to try and get both the plumbing and electrical ready for final (partial) inspection with the hope that at least one of them passes and I get my extension. The electrical is easy: I just need to install 2 more light fixtures and cover the other boxes that will not get lights. The plumbing is a little more work: I've got to finish the bathroom vanity cabinets and get the faucets mounted for the shower, tub, and 3 sinks. Not too bad. Tonight we worked on tiling the vanity cabinets (see pictures below). Tomorrow night we mount the sinks and faucets. We should be fully plumbed and ready for electrical by this weekend. I plan on calling for the 'partial' final inspection on Tuesday. Wish us luck.

And now the good part: more pictures from my Flickr account:


Jenn is tiling the vanity top in the master bathroom.


The building stages of the vanity cabinet in the masterbath.


Finished tiling the countertop in the 2nd bathroom.


Finished tiling the countertop in the masterbath.


The 3 sinks wait to be mounted.

Friday, April 01, 2005

Retro-Blogging: First Project

I’m going to be busy this weekend working on the bathrooms. So, I thought I’d quickly blog about something I did 2 years ago: my first enhancement to Hillsdalehouse.

When I first started doing research on Craftsman Bungalows (see back story), one of the things that I found, consistent with my childhood house, was the idea of a house with a fireplace flanked by book cases. Stickley’s idealized evening was a warm fire, comfortable chair, and a good book within reach. The good news was that our house did have a fireplace, but it was white painted brick with a little gas heater that failed to warm the room.


This picture was taken during the pre-purchase inspection (April 2002). It’s really funny to see it now.

Initially, I wanted to just strip the paint off of the fireplace and add a glass-door bookcase to the right and maybe a little bench on the left. But, after seeing some great pictures of old fireplace mantels, I decided I wanted to raise the height of the mantel. Then, it appeared that there would be a hollow space between the top of the brick and the top of the mantel. So, why not make it a cabinet? Things evolved from there. Here is a picture shortly after staining (April 2003):


This was my first time working with hardwood (you can’t just expect to hammer a 6p finish nail into that stuff!!!). Also, this was my first time doing panel-and-frame (sheets of 1/4" oak plywood framed by 1” thick solid oak boards). But, I’m pretty happy with the results. I’m currently building the bathroom vanities in the same style and I plan to eventually do this for the kitchen cabinets and a built-in sideboard in the dining room.

Below is a collage of the work progress (click for a closer look).